Remote - DISCONTINUED
Securely connect with multiple remote contributors.
IMPORTANT INFORMATION
We’ve made the tough call to discontinue NDI Remote and take the service offline. This decision comes after identifying performance issues that can’t be quickly addressed. That said, we’re already exploring a more reliable way to bring Remote back in the future. We’ll share updates as soon as we have them. If you have questions or need a hand planning a workaround, please reach out through the proper channel. Our team’s here to help! Support – NDI
NDI Remote is a tool that facilitates seamless connections with multiple remote contributors by simply sharing a link. This application enables receiving video and audio over the internet, transforming your device into an NDI video feed receiver.
Download NDI Tools here.
Accessing NDI Remote
Install NDI Tools and run NDI Remote from the NDI launcher or your applications list.
Sharing Video
Method 1: Send Invitation
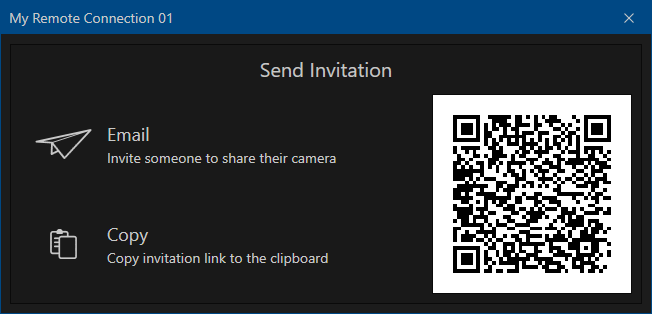
On the Send Invitation tab, enable a remote connection from the available list (up to eight connections). You should assign a specific name to the remote connection.
Then, click the share icon (paper plane icon) on the right side of the desired connection to open up a pop-up menu. This pop-up menu will present various methods to share an invitation:

Via email.
By sharing a unique QR code attributed to that connection.
By sharing a unique URL.
The receiver will only need to open the link in a web browser on the remote device, grant access to the camera and microphone, and the video will begin being shared.
Method 2: Initiating from the Remote Device
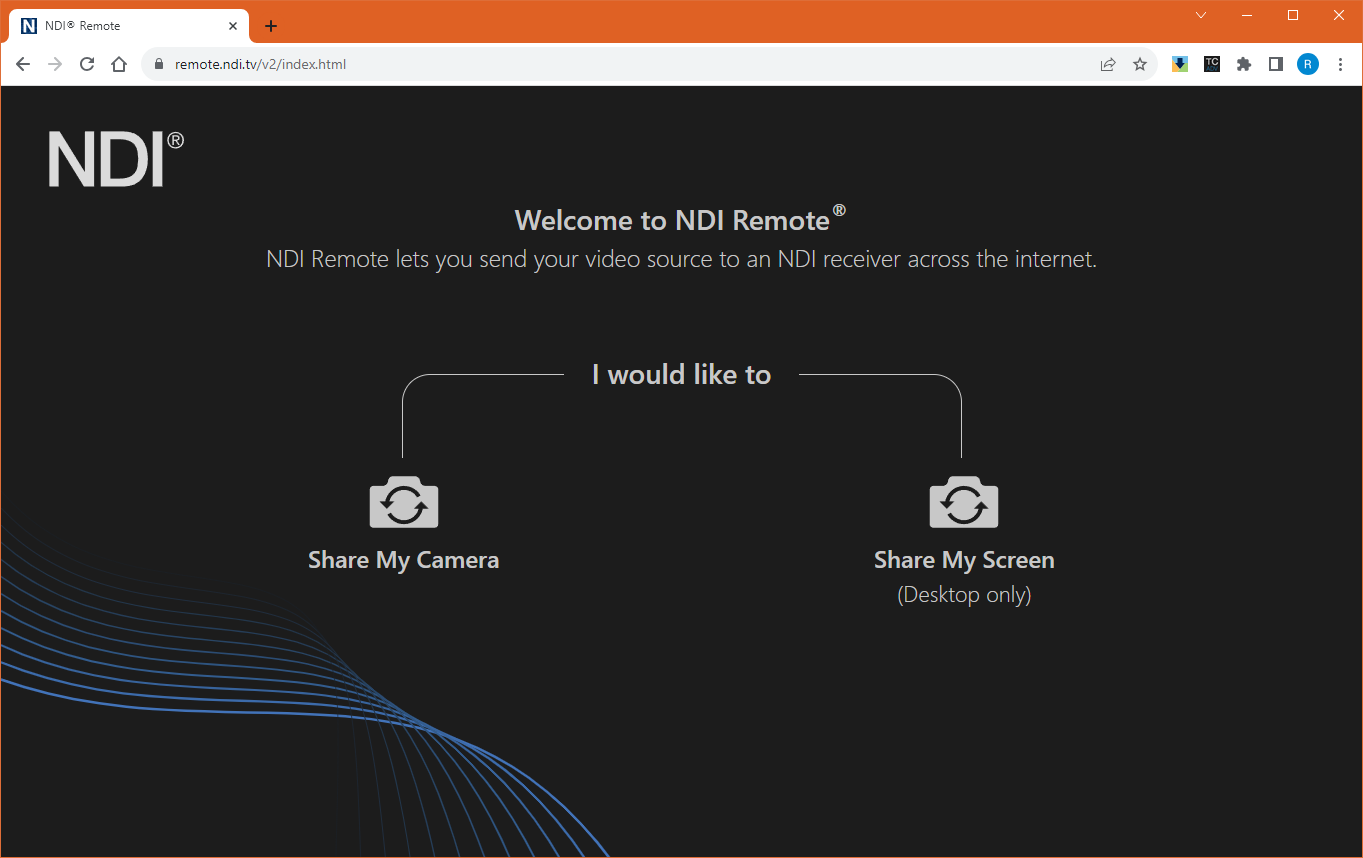
Visit the NDI Remote page. In there, you'll be able to select different sources to share:
Your hardware system camera
A feed of your computer's screen

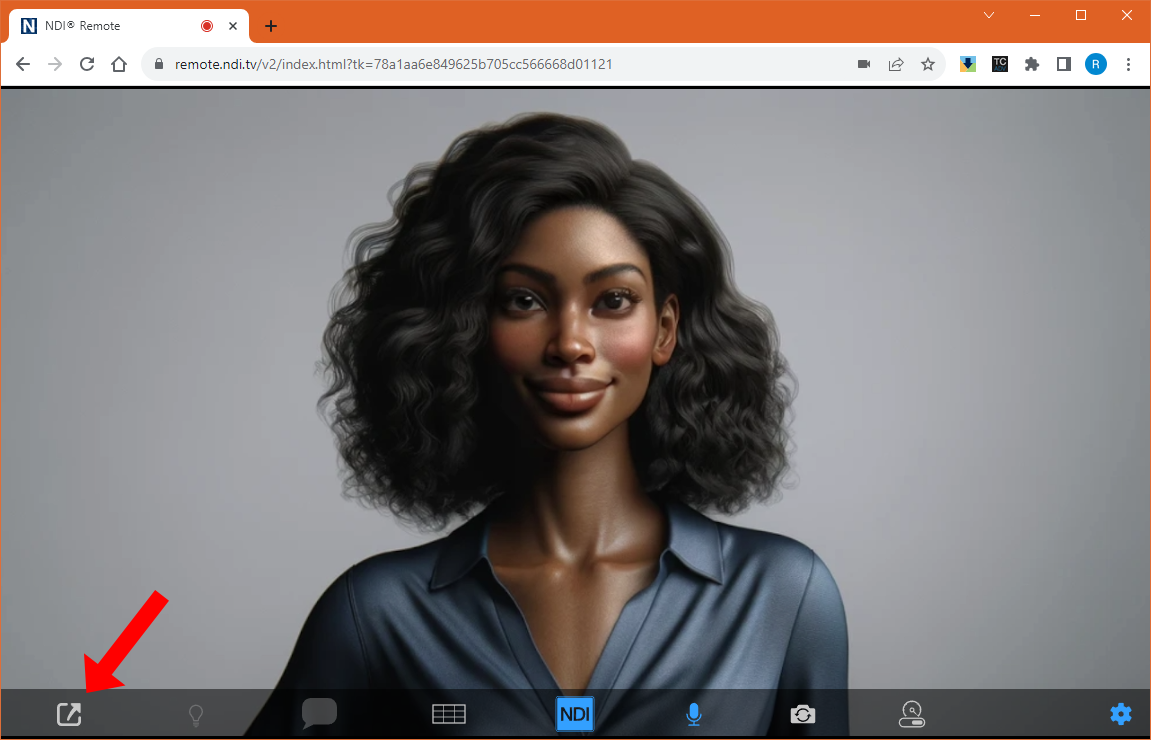
You'll be prompted to provide access to your computer's camera and microphone. If you accept, you'll start seeing a feed from your camera.
A menu will also show up. By clicking the leftmost icon, you'll be able to name your feed so that others can identify it. You'll also be able to share it by clicking the Share button.

The person using the NDI Remote tool can view and manage the incoming connection on the Received Invitations tab. The NDI Remote connection is now generating an NDI source, which any NDI-enabled application in your local area network can receive.
Using Turn Relay Server (Optional)
A TURN (Traversal Using Relays around NAT) server is a network entity that facilitates the relaying of network traffic. When two devices are unable to establish a direct connection due to NAT or firewall restrictions, they use a TURN server as an intermediary. The TURN server temporarily stores the data from the sending device and forwards it to the receiving device.
TURN servers are particularly important in VoIP and interactive video conferencing applications that use protocols like WebRTC.
This process helps in overcoming the limitations imposed by NAT, which can change the public IP address and port number of a packet and make it difficult for the receiving device to interpret where the data originally came from
With NDI Remote, a custom TURN server can be specified by the user:
Go to the My Connections tab and click the gear icon to open the Turn Relay Server options.
Activate the Turn Relay Server by checking the corresponding box.
Enter the Turn Server's URL and port provided by your system administrator.
Optionally, enter a username and password.
Click Apply to accept the Turn Server configuration.
Last updated
Was this helpful?

